Destinations / Field guide 01
Best Travel Photography Destinations Around the World
The best travel photography destinations depend on the photographs you want to make, the time you can spend outside, and the access you can realistically manage. Choose a place for its light, visual variety, and workable routes rather than a ranking. A compact city may produce a richer series than an ambitious road trip with little time to stop.
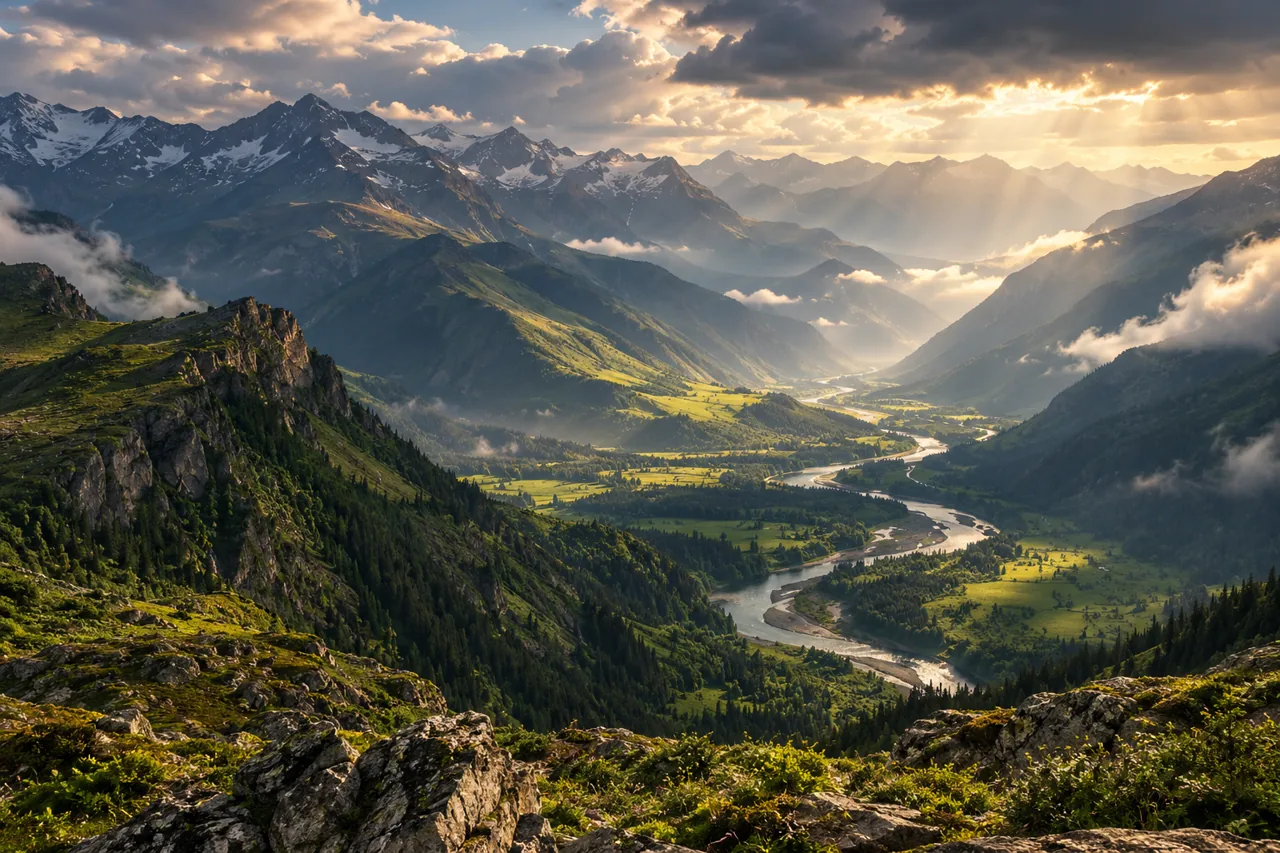
This guide uses destination examples as starting points, not guaranteed shooting locations. The images are conceptual illustrations. Confirm the exact viewpoint, current access, and weather with local authorities before building an itinerary around a particular frame.
Start with a photographic question
Ask what you want your pictures to explain. Are you interested in water reshaping a coast, the rhythm of an old city, or the relationship between people and a landscape? That question gives you a practical way to compare destinations. It also stops the itinerary becoming a collection of disconnected famous sights.
Make a short shot list with three layers: an establishing view, a medium scene, and a detail. For a coastal trip, that could be a bay, a fishing harbor, and ropes drying beside a boat. You now have subjects for different weather and times of day. The wide view no longer carries the whole story.
Iceland for landscape variety
Iceland is a useful research starting point for travelers drawn to volcanic forms, open horizons, waterfalls, and coastal textures. A restrained itinerary can explore contrasts between dark ground and moving water without trying to cross the country in a few days. Compare distances and accommodation options before choosing a base.
Weather and safe stopping places should shape the route. SafeTravel's driving guidance specifically advises finding a safe place off the road to stop for scenery and photography, and checking road and weather conditions. A roadside subject is never permission to stop in a traffic lane. Have an alternative that does not require continuing through deteriorating conditions.
Photographically, try working with a longer focal length to isolate a band of hillside or waterfall detail. The widest lens is not always the clearest way to describe a large landscape. Give viewers one strong shape to follow, then use a separate frame for context.
Kyoto for layered urban stories
Kyoto can prompt a different kind of project: streets, architectural rhythm, garden textures, and the relationship between old and contemporary spaces. Research the area you intend to visit rather than assuming every street or temple is open for photography. Some subjects are best approached through details that do not involve identifiable people.
The official Kyoto Travel guidance for Gion is an appropriate starting point for local etiquette. Read the signs at each location and follow staff instructions. A beautiful narrow lane may still be a private space. Do not pursue residents or working performers for a portrait.
Build a series around repeated materials: wood, stone, tile, and paper, where photographing them is permitted. A doorway and its shadow can make a stronger image than an overcrowded wide view. Our historic city guide explains how to use these quieter subjects.
Lisbon for streets and geometry
Lisbon is a starting point for photographers interested in hills, streetscapes, and architectural color. Treat it as a city to explore at walking speed, with rest breaks and manageable distances. A route that looks short on a flat map can be tiring when carrying equipment, so assess gradients and your own mobility needs.
Look for the relationship between building edges and the slope of the street. Move until a bright wall or vehicle stops competing with your main subject. Keep pedestrian routes clear and avoid stepping into roads to obtain symmetry. A photograph from a safe position can still express the structure of the place.
Bright weather offers graphic shadows; overcast weather can suit wall textures and restrained color studies. Both are productive. Choose an approach before arriving, then change it if the actual light suggests something better.
Desert regions for form and restraint
Desert landscapes invite attention to shape, negative space, and surface texture. Research a specific managed area with clear visitor information, rather than treating an entire region as accessible terrain. Heat, distance, sand, and unfamiliar roads can change what is sensible to attempt with a camera.
At low sun angles, a dune's lit face and shadow can divide the composition cleanly. Stay on permitted routes and do not assume a footprint-free surface is yours to enter. A tighter frame from an authorized position can preserve the visual simplicity without damaging a fragile area.
Carry equipment in a closed bag between shots. Avoid changing lenses in blowing sand. If conditions become uncomfortable or unsafe, stop; protecting the camera is secondary to getting yourself and your companions back safely.
Forests and local landscapes for repeat visits
A nearby forest, river, or reserve can be a valuable photography destination because you can return. Repeat visits reveal changes in water level, leaf color, and light direction. You can also learn a route without the pressure of making every exposure count on an expensive trip.
Work on separation in visually busy scenes. A pale trunk against a darker background, a bend in a stream, or a cluster of leaves can become the anchor. Small shifts in position often improve these images more than elaborate settings. Use a permitted path and avoid moving plants to tidy the frame.
Cloudy conditions are useful for close views when bright patches would distract. Wind makes long exposures less predictable: branches may blur even if the camera is perfectly still. Review subject motion, not just camera stability.
Compare the trip you can actually take
| Type | Photographic opportunity | Check before booking |
|---|---|---|
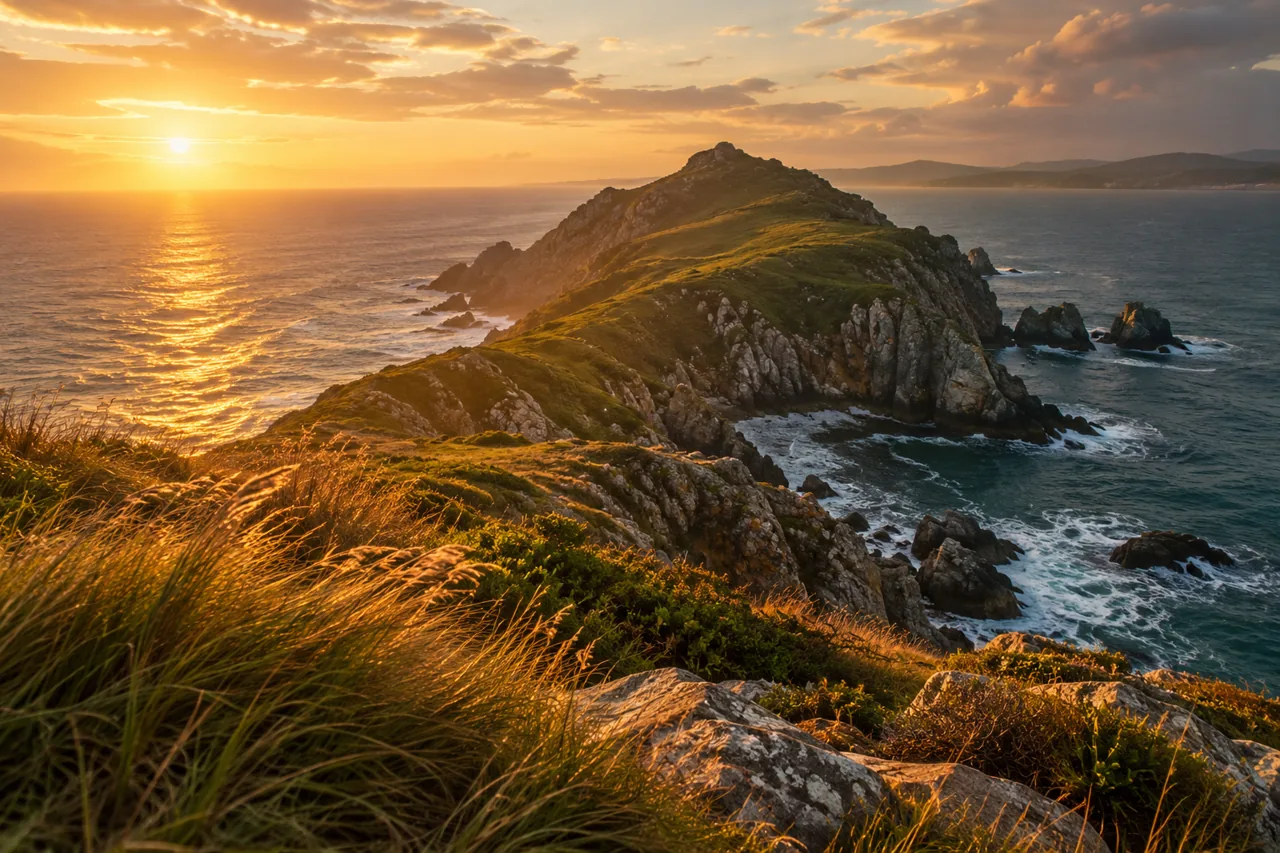
| Coast | Layers, water, weather | Safe viewpoints, tide guidance, return route |
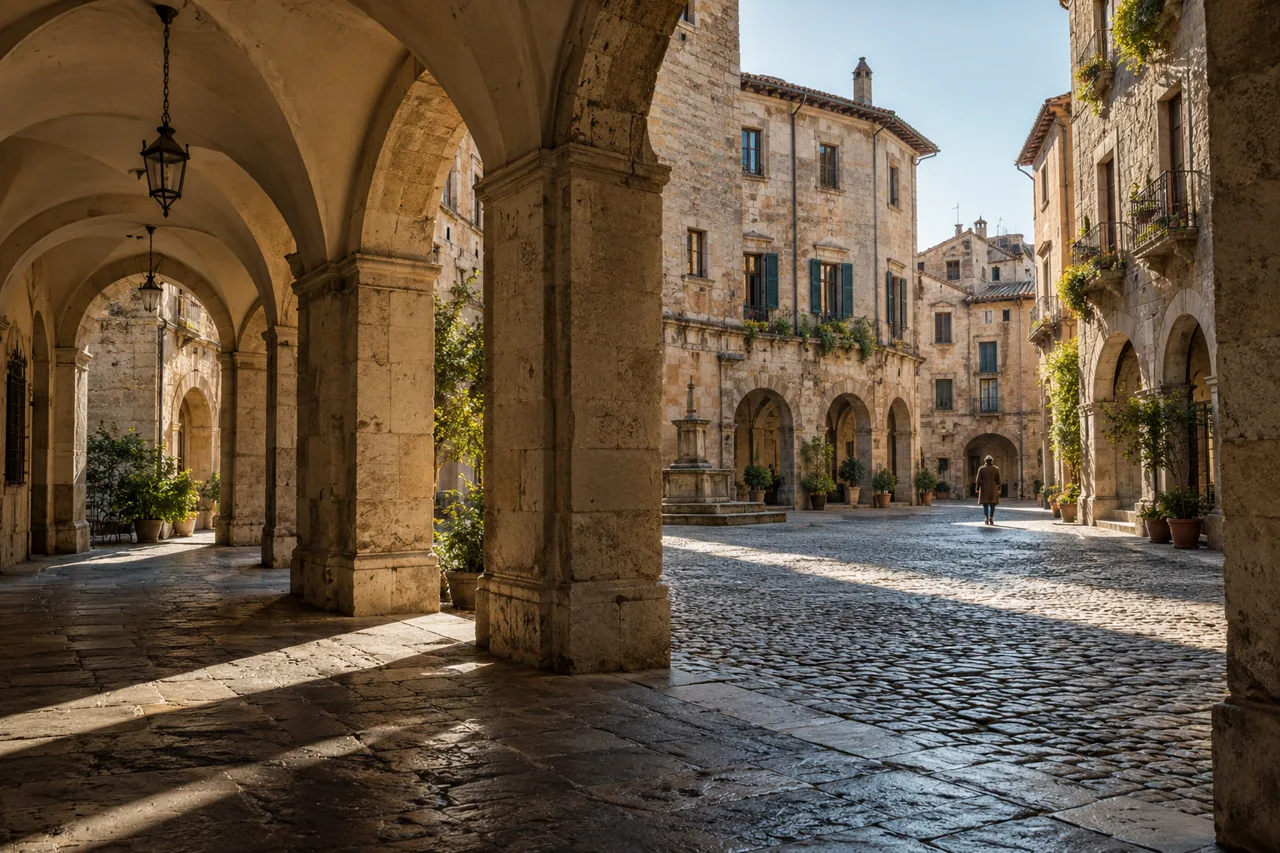
| Historic city | Details, geometry, daily life | Private areas, interior rules, walking distances |
| Desert | Shape and negative space | Managed access, heat, transport |
| Forest | Texture, water, seasonal change | Trail status, daylight, footing |
A useful base reduces travel between subjects. Spend two sessions near one location before adding another distant stop. The second visit lets you solve problems noticed in the first: a distracting background, the wrong side of the light, or a route that took longer than expected.
Your destination shortlist
- Choose one visual theme and three complementary subjects.
- Find an official source for each proposed location.
- Check access, transport, daylight, and a weather alternative.
- Match terrain and carrying weight to your abilities.
- Leave time for a second attempt and a safe return.
Use our photography trip planning guide to turn that shortlist into a route. A destination becomes worthwhile when you have enough time and access to respond to it thoughtfully.
Questions before you choose
Which destination is best for a beginner?
A place with simple transport, safe walking routes, and several nearby subjects is a useful first choice. Familiar surroundings let you practice without spending most of the day solving logistics.
Do I need an expensive camera for travel photography?
No. A phone or a camera you know well can support a thoughtful series. Control your position, background, and timing before assuming another device will solve the problem.
Is the most famous viewpoint always worth visiting?
It may be, but assess queues, access, and your intended image. Nearby details or a different permitted angle can describe the same place with more personal observation.
Should I choose a destination only for golden hour?
No. Plan several subjects for different light conditions. Golden hour is useful, but weather, terrain, and local access may make it unavailable.